Ai工具Cursor 无限续杯,亲测可用
 次阅读
次阅读
文章目录
各位老师好, 我是007
今天是 2025年5月10日,每天定投15分钟 实现百万梦想的第三天
今天主要任务 :如何 使用Cursor +python 开发一个自动发帖推广的小助手。
Cursor 无限续杯的方法
解决问题:Cursor在免费订阅期间出现以下提示的问题
- Too many free trial accounts used on this machine. Please upgrade to pro. We have this limit in place to prevent abuse. Please let us know if you believe this is a mistake.
- 删除账号 重试也不行,这是官方发现这个bug了
这个方法来自于一个程序员yuaotian大神,地址:https://github.com/yuaotian/go-cursor-help
亲测有效,谢谢分享,敲黑板下面是主要步骤和注意事项!
step1:cursor软件退出登录
step2:cursor网页端删除账号
step3:运行命令(注意:用管理员身份运行windows powershell)
macOS
|
|
window:
|
|
step4:用验证码方式重新登录账号(相当于重新注册)
step5:结束~(可以用很多API,claude-3.7-sonnet这个最好用)
开始
第二部分
2.1 开发环境搭建:Cursor虚拟python环境
第一步:安装python并,创建虚拟环境
为什么创建虚拟环境 而不是官网安装的python, 是因为苹果电脑macOS 不支持pip按照第三方库,必须虚拟机环境
|
|
第二步:Cursor 配置
参考官方用法:https://docs.cursor.ac.cn/guides/languages/python
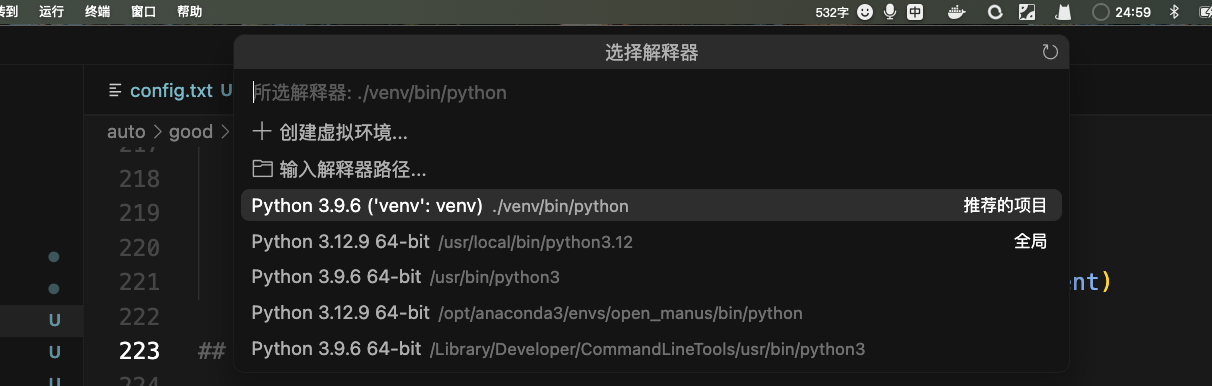
在 Cursor 中配置您的 Python 解释器
- 打开命令面板 (Cmd/Ctrl + Shift + P)
- 搜索 “Python: 选择解释器”
- 选择您的 Python 解释器(如果您正在使用虚拟环境,则选择虚拟环境)
|
|
然后,通过将以下内容添加到您的 settings.json 文件中,配置 Cursor 以使用 Black 进行代码格式化
- settings.json:用户的设置文件
- 呼出命令面板:按下
Cmd + Shift + P,输入命令Preferences: Open Settings (JSON)并回
|
|
Cursor 与流行的 Python 框架无缝协作
- Web 框架:Django、Flask、FastAPI
- 数据科学:Jupyter、NumPy、Pandas
- 机器学习:TensorFlow、PyTorch、scikit-learn
- 测试:pytest、unittest
- API:requests、aiohttp
- 数据库:SQLAlchemy、psycopg2
2.2 功能开发
该功能开发失败,无法实现—手工写
如何循环 点赞
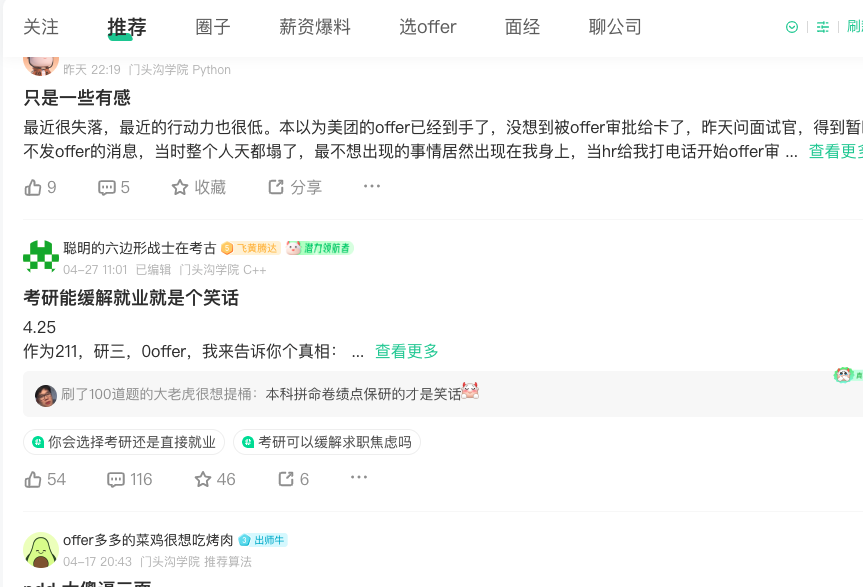
 不会写代码没关系,自动生成
playwright codegen https://www.xxxxx
007疑问:**元素选择器(Element Selector):通过元素名称选择 HTML 元素 是什么意思?
回答:
网页很多内容, 通过html每个元素属性,获取每个元素, 例如 上课时候,老师通过名字点名一样, 也可以通过学号, 或者穿衣服颜色等。
复杂的CSS选择器路径:
- div:nth-child(19) - 选择页面中第19个div元素
-
.tw-px-5 - 然后选择其中带有类名tw-px-5的直接子元素
-
div:nth-child(4) - 再选择其中第4个div子元素
-
span > .feed-interaction-data > .ncicon > svg - 继续向下选择到最终的SVG图标
留言:
|
|
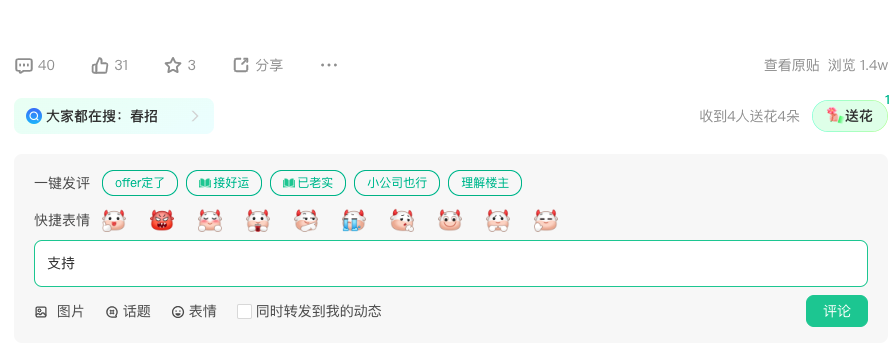
打开评论区:
|
|
留言:
|
|
- 耗时3个小时没有解决
- https://github.com/yylou15/nowcoder_bot/blob/main/send_intern_job.py 别人通过接口发送的
2.3 功能开发微博
|
|
需要获取完整的商品内容。
- 名字
- 发表时
暂停:
后面参考: https://github.com/dataabc/weibo-crawler https://github.com/harry0703/MoneyPrinterTurbo
链接我
-
关注公众号【AI破局俱项目实战笔记】 一起交流更多Cursor技巧和AI知识(脚本免费、关注公众号加群有更多技巧和大佬)
-
正在挑战365天认知马拉松:
✍️ 晨间写作(6:30-7:30)
🏃 夜间健行(20:00-21:00)
与你分享工程师的跨界成长地图

References 第一手资料
[1] 参考来源:https://docs.python.org/zh-cn/3.5/tutorial/venv.html [2] https://www.jb51.net/article/256544.htm